
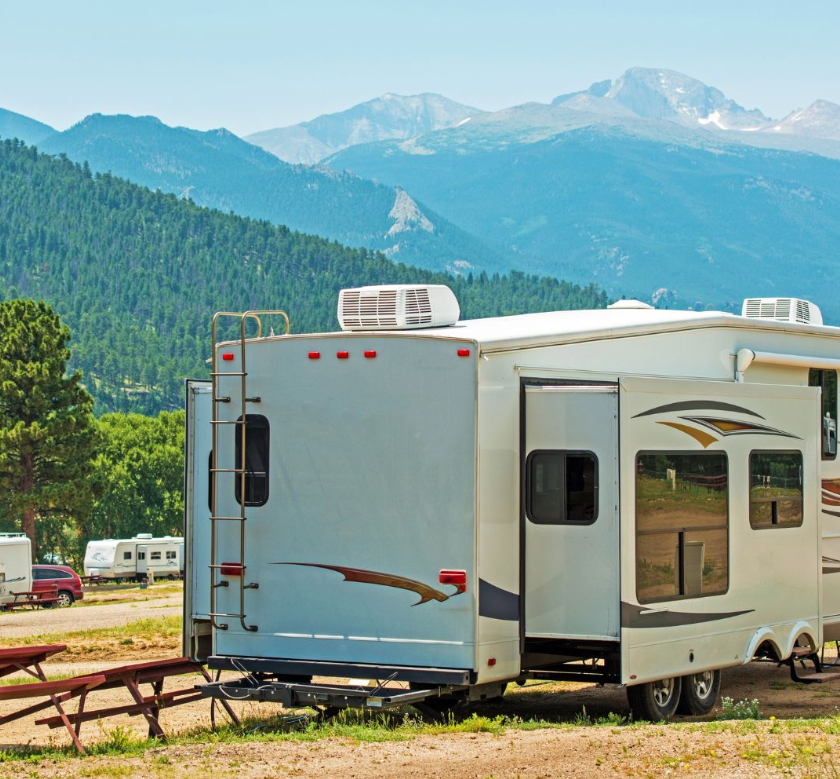
RV slide outs are an incredible convenience, offering extra space and comfort while camping or traveling. However, like all mechanical components, slide outs are prone to wear, malfunction, and failure. Knowing how to troubleshoot and repair a slide out on your RV can save you time, money, and the hassle of waiting for professional service especially if you’re on the road.
This article provides a comprehensive guide to understanding, diagnosing, and repairing slide outs commonly found in recreational vehicles.
Understanding How Slide Outs Work
To effectively repair a slide out, it’s essential to understand how it functions. Most RV slide outs operate using either an electric motor or a hydraulic system. Electric slide outs rely on a motor that drives gears or a rack and pinion system, extending and retracting the room. Hydraulic systems use a pump and fluid to extend hydraulic rams that push or pull the slide.
Additionally, some models use cable, track, or Schwintek mechanisms. Each system has its unique set of components and potential issues, so identifying which type your RV has is the first step in the repair process.
Common Slide-Out Problems
There are several issues that can affect the performance of a slide out. One of the most frequent problems is failure to extend or retract fully. This can be due to motor failure, a blown fuse, dead battery, or something physically blocking the slide’s movement.
Hydraulic systems may suffer from fluid leaks, faulty pumps, or damaged hoses. In cable or Schwintek systems, frayed or broken cables and misaligned tracks are typical culprits. Other common issues include water intrusion, misaligned seals, and unusual noises during operation, which often indicate mechanical wear or obstruction.
Initial Troubleshooting Steps
Before diving into complex repairs, it’s important to perform some basic troubleshooting. Start by checking your RV’s battery voltage; slide outs require a good deal of power and won’t function correctly if the voltage is low.
Next, inspect the fuses and circuit breakers associated with the slide system. Reset or replace them if necessary. Examine the area around the slide out for physical obstructions, like debris or interior items pressing against the walls.
Listen for the motor; if it hums but doesn’t move, the gears might be stripped or jammed. If there is no sound at all, it could indicate a failed motor or power issue.
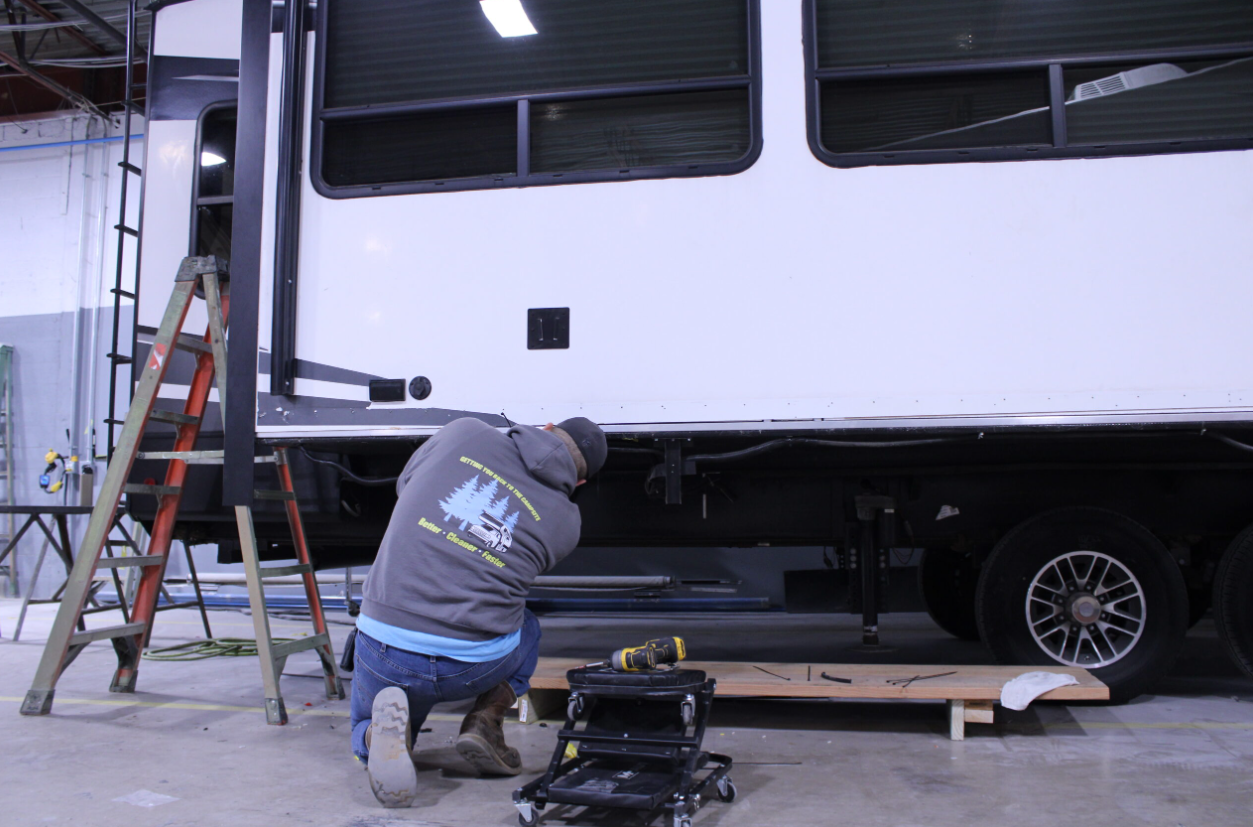
Mechanical Repairs for Slide Outs
If your initial inspection points to mechanical failure, the repair will depend on your slide out’s design. For electric systems, replacing a worn motor or stripped gears may be necessary. Motors are typically mounted underneath the slide and can be accessed with basic tools. Ensure you disconnect the battery before starting any repairs. In rack and pinion systems, look for worn teeth or bent arms. Replace damaged parts with manufacturer-approved components to ensure proper fit and function.
For hydraulic systems, inspect the lines for leaks. If you notice fluid around the slide or in the undercarriage, trace it back to the source. You may need to tighten connections or replace a hose. If the pump isn’t activating, it could be a relay, switch, or the pump motor itself. Make sure the fluid reservoir is full, and top it off if needed with the manufacturer-recommended hydraulic fluid.
In cable systems, such as BAL Accu-Slide, check for slack or frayed cables. These systems often require tension adjustments or cable replacement. Cable kits are available through RV parts suppliers and typically include instructions for proper installation and tensioning. For Schwintek systems, which use tracks and gear rails mounted vertically along the slide walls, inspect the tracks for wear and clean them regularly. Misalignment may require recalibration using the control panel.
Electrical System Checks
Slide out systems depend heavily on the RV’s electrical network. Poor wiring, corroded connectors, and failed switches can all cause the slide out to malfunction. Use a multimeter to check for voltage at the motor terminals while operating the slide switch.
If there’s no voltage, trace the wiring back to the switch or fuse panel. Replace any corroded connectors, tighten loose wires, and clean terminals with contact cleaner. If your RV uses a control board for the slide, it may need to be reset or replaced.
Preventive Maintenance Tips
Routine maintenance can significantly reduce the chances of slide out failure. Keep all moving parts clean and well-lubricated with silicone-based lubricants designed for RV use. Avoid using WD-40, as it can attract dirt and gum up components.
Periodically inspect the slide seals for cracking, separation, or decay. Replace seals when necessary to prevent water leaks and maintain insulation. Keep the tracks and gear mechanisms free of debris and check cable tension if applicable.
Also, operate the slide out on level ground whenever possible to avoid putting stress on the mechanism. Don’t overload the slide room with heavy furniture or items that could shift during transit. When retracting the slide, always ensure no objects are in the way, and watch the edges for uneven movement which could indicate a problem.
When to Call a Professional
While many slide out repairs are doable for handy RV owners, some situations call for professional help. If you’re dealing with significant hydraulic leaks, electronic control board failure, or severe misalignment, a certified RV technician may be required. Repairs involving structural damage or frame warping are also best left to professionals with specialized equipment and expertise.
Conclusion
Repairing an RV slide out may seem daunting, but with a basic understanding of the system, proper tools, and some patience, many issues can be resolved on your own. Start by identifying your slide out type and follow a logical troubleshooting process. From checking power supply to inspecting motors, gears, and hydraulics, many common problems are manageable with DIY efforts. Keeping up with regular maintenance and addressing issues early will help keep your slide out system running smoothly for years to come. Whether you’re on a weekend trip or full-time RVing, knowing how to repair a slide out can be a valuable and empowering skill.