To fix an RV roof, first, identify the damage and clean the area thoroughly. Next, apply a suitable sealant or patching material.
Maintaining an RV roof in top condition is crucial for any RV owner. A damaged roof can lead to water leaks, structural damage, and a decrease in the overall value of your RV. Knowing how to properly repair your RV roof can save you time, and money, and prevent further damage.
This guide is designed to provide RV owners with straightforward steps to assess and fix common roof issues. Whether you’re dealing with minor wear and tear or more significant damage, the key is to act quickly. With the right materials and a bit of know-how, fixing your RV roof can be a manageable DIY project that ensures your RV remains a comfortable and safe home away from home.
Assessing RV Roof Damage
An RV adventure can quickly turn sour with roof damage. Regular inspection and prompt repair are essential. Start with assessing the extent of the damage. This guide walks through identifying the roof type and finding leaks or issues.
Identifying The Type Of Roof
- Check your RV manual for roof material.
- Look for markings on the roof surface.
- Common types include rubber (TPO or EPDM), fiberglass, or aluminum.
Different materials need specific repair methods. Know your type before proceeding.
Locating Leaks And Problem Areas
- Inspect roof seams and edges closely.
- Search for cracks, tears, or holes.
- Use a hose to spot hidden leaks.
Water stains on the ceiling suggest leaks. Seal them quickly to avoid interior damage.
| Area | Issue | Action |
|---|---|---|
| Seams | Separation | Apply sealant |
| Surface | Cracks | Patch or seal |
| Edges | Wear | Reinforce |
Address issues based on the specific problem and roof type.
Preparation For Repair
Before fixing an RV roof, good preparation is key. It ensures a smooth repair process. Let’s dive into the steps needed for a successful fix.
Cleaning The Roof Surface
A clean roof surface is critical. It allows materials to bond properly. Here’s how to clean your RV roof:
- Remove debris: Start by sweeping off leaves, twigs, and dirt.
- Use the right cleaner: Choose a cleaner made for your roof type.
- Scrub gently: Use a soft brush to avoid damage.
- Rinse thoroughly: Ensure no cleaner residue remains.
Gathering Necessary Materials And Tools
Having all materials and tools on hand is important. This prevents delays. Below is a list of what you might need:
| Material/Tool | Use |
|---|---|
| Sealant | For sealing cracks and seams |
| Utility knife | To trim sealant or remove old material |
| Caulking gun | For applying sealant |
| Cleaner | To clean the surface |
| Brushes/Rollers | For applying products |
| Protective gloves | To keep hands clean and safe |
Double-check your RV’s manual for specific product recommendations. Gather everything before starting work. This ensures you can fix your roof efficiently and effectively.
Choosing The Right Sealant
Keeping your RV roof in tip-top shape is crucial. A reliable sealant is key. It prevents leaks and protects your investment. But how do you choose the best one? Let’s look at the options.
Pros And Cons Of Different Sealants
Different sealants offer unique benefits and drawbacks. Here’s a quick guide:
- Silicone: Great for flexibility, not for adhesion.
- Acrylic: Easy to apply, less durable.
- Urethane: Strong bond, more expensive.
- Butyl: Good for sealing joints, slow to cure.
Compatibility With Your RV Roof Material
Match the sealant to your roof material. This ensures a lasting fix.
| Roof Material | Recommended Sealant |
|---|---|
| Rubber (EPDM/TPO) | Acrylic or Urethane-based |
| Fiberglass | Silicone or Urethane-based |
| Metal | Butyl or Urethane-based |
Always check your RV manual before deciding. It often suggests the best sealant.

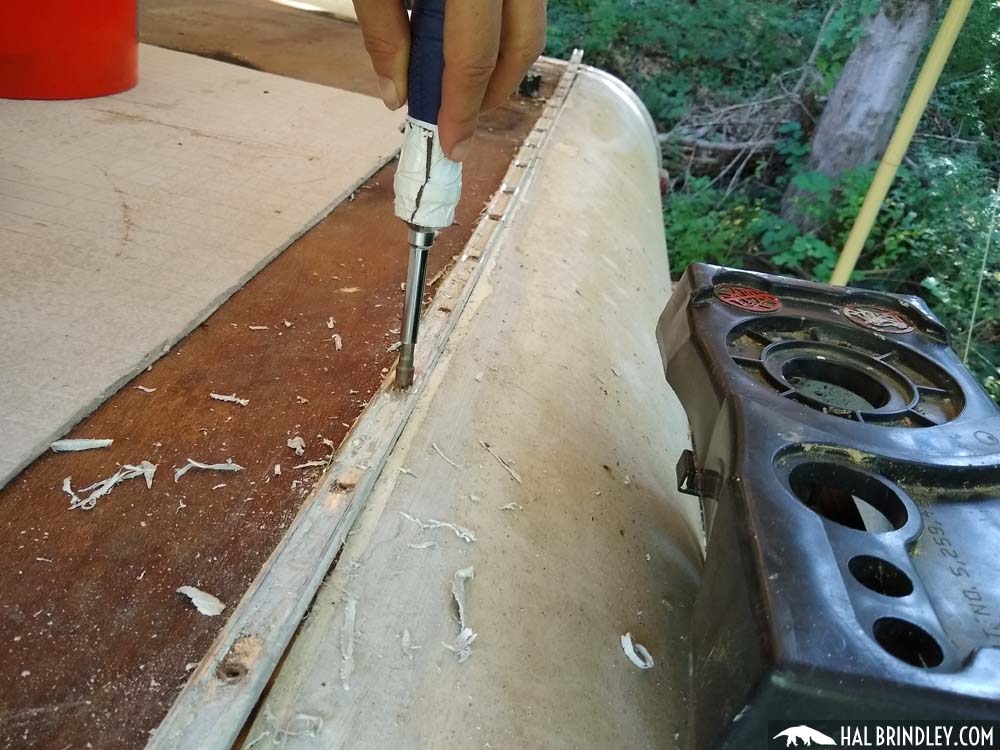
Credit: halbrindley.com
Patch Vs. Replace
RV roof troubles can lead to big problems. Knowing whether to patch or replace is key. Quick fixes might work, or a full replacement could be needed. Smart choices protect your RV from damage.
When To Simply Patch A Leak
Small leaks often need just a patch. Look for these signs:
- Minor damage: Small tears or punctures.
- Localized issues: Problems not spread across the roof.
- Recent leaks: New issues are easier to patch.
Patching is cost-effective and fast. It’s a good first step to stop water entry. Use a sealant designed for RV roofs for best results. Always clean the area before applying a patch.
Indicators For A Full Roof Replacement
Sometimes, a patch won’t do. Look for these indicators:
- Extensive damage: Large areas affected.
- Older RV: Roofs wear out with age.
- Multiple leaks: Several patches are already in place.
Replacing the roof is a big job. Yet, it’s necessary for major issues. It prevents further interior and structural damage. A new roof also adds to your RV’s lifespan and value.
Step-by-step Leak Repair
Fixing an RV roof leak is crucial to prevent damage. A step-by-step process ensures the job is done right. Follow these steps to patch up your RV roof like a pro.
Applying Sealant Properly
Choosing the right sealant is essential for a lasting repair. Start with a clean, dry surface. Use a scraper to remove old sealant. Apply the new sealant smoothly, covering the entire leak area.
- Clean the area thoroughly before application.
- Use a caulking gun for even distribution.
- Smooth out the sealant with a putty knife.
- Check for gaps and add more sealant if needed.
Ensuring A Watertight Seal
After applying sealant, inspect the edges for any potential leaks. Press down firmly to remove air pockets. Allow the sealant to form a skin before testing with water.
- Inspect all edges for coverage.
- Press to remove air and ensure contact.
- Wait for the sealant to skin over.
- Spray water to test the seal.
Curing Time And Conditions
Allow adequate curing time for the sealant. Curing depends on temperature and humidity. Keep the RV dry and avoid movement during this period. Check the product instructions for specific curing times.
| Temperature | Curing Time |
|---|---|
| Above 50°F | 24-48 hours |
| Below 50°F | Up to 5 days |
Preventative Measures
Your RV roof is your shelter on wheels, a guardian against the elements. Taking steps to prevent damage is key. This means regular check-ups and smart protective measures. A well-maintained RV roof can save you from costly repairs. Let’s dive into how you can safeguard your home on the road.
Regular Maintenance Tips
Stay ahead of roof issues with these maintenance tips:
- Clean your roof bi-annually.
- Inspect for cracks and seals regularly.
- Check for loose fixtures and sealant gaps.
- Trim trees near your RV to prevent scrapes.
- Ensure ventilation to avoid moisture build-up.
Protective Coatings And Treatments
Apply treatments to extend your roof’s life:
| Type of Coating | Benefits |
|---|---|
| UV Protective Coating | Deflects sun’s rays, reduces heat damage |
| Rubber Roof Coating | Seals leaks, resists weathering |
| Liquid Roof Solution | Forms waterproof, durable layer |
Choose a high-quality coating. Apply it correctly for best results.
Troubleshooting Common Issues
Fixing an RV roof can seem tough. But don’t worry! We’ll show you how to handle the most usual problems. Keep reading to learn about fixing leaks and dealing with sealant issues.
Dealing With Persistent Leaks
Leaks can be a big headache. First, find where the leak is. Sometimes, it’s not where you think! Water can travel from one spot to another. Here’s how to tackle leaks:
- Inspect the roof carefully. Look for cracks or holes.
- Clean the area around the leak. Use a mild cleaner and water.
- Choose the right sealant. Make sure it’s meant for RV roofs.
- Apply the sealant. Follow the instructions on the package.
- Check the inside of your RV too. Fix any damage leaks caused.
Addressing Sealant Failures
The sealant keeps water out. But sometimes, it fails. Here’s how to fix it:
- Remove old sealant. Be gentle but thorough.
- Clean the surface. It should be dry and free of dirt.
- Pick a high-quality sealant. It should be durable.
- Apply new sealant. Smooth it out to avoid gaps.
- Let it dry. Check the product for drying time.
Remember, regular checks can prevent big problems. Take care of your RV roof, and it will take care of you.

Credit: rvinspiration.com
Professional Vs Diy Repair
Deciding between professional or DIY RV roof repair is crucial. Your choice impacts your RV’s condition and your wallet. Let’s explore which option suits your situation.
When To Call The Experts
Complex damages need skilled hands. Call professionals for these scenarios:
- Major leaks: Water seeping through multiple areas.
- Structural damage: Issues with the RV’s framework.
- Material expertise: Specialized roofs require certain skills.
Safety comes first. Climbing on the roof can be risky. Experts have the right gear and training.
Cost Analysis: Saving Money With Diy
DIY repairs can be lighter on the pocket. Here’s a simple cost comparison:
| Expense | DIY | Professional |
|---|---|---|
| Materials | Lower | Higher |
| Labor | $0 | Costly |
| Tools | One-time buy | Included |
If you have time and basic repair skills, DIY saves money. You need to buy materials and maybe some tools.
Remember, a mistake can lead to more damage. This could cost more later.

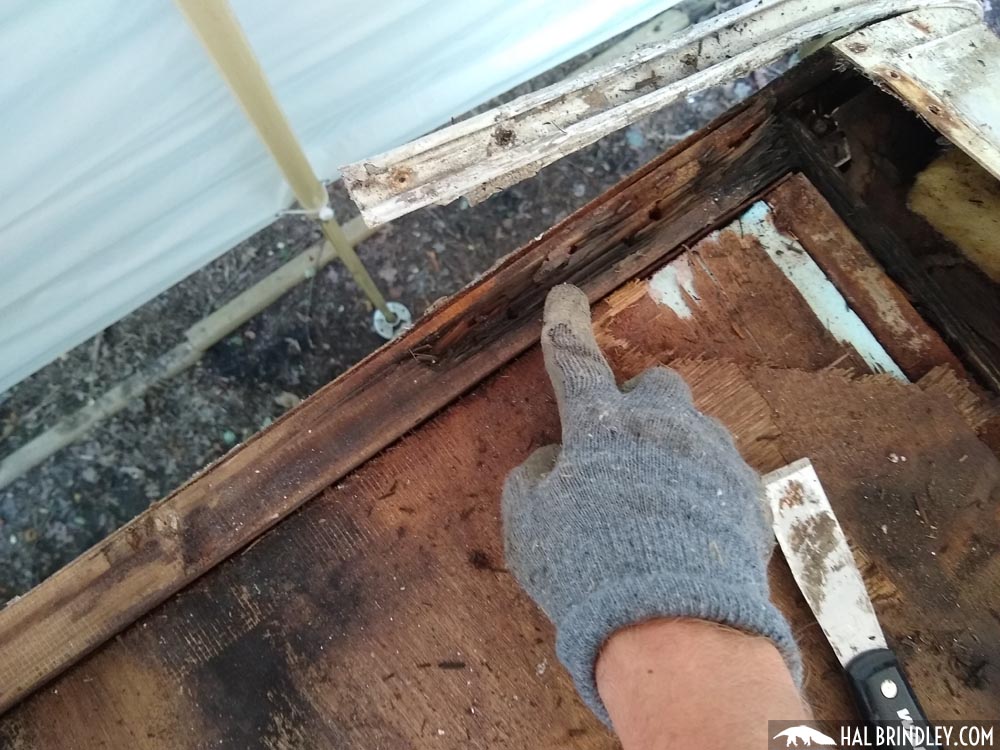
Credit: halbrindley.com
Conclusion
Repairing your RV roof can seem daunting, but it’s manageable with the right steps. By following the guidance provided, you can ensure a durable and long-lasting repair. Regular maintenance and timely fixes are key to enjoying your RV adventures without worry.
Remember, a well-maintained roof is crucial for your vehicle’s longevity and your comfort.

